
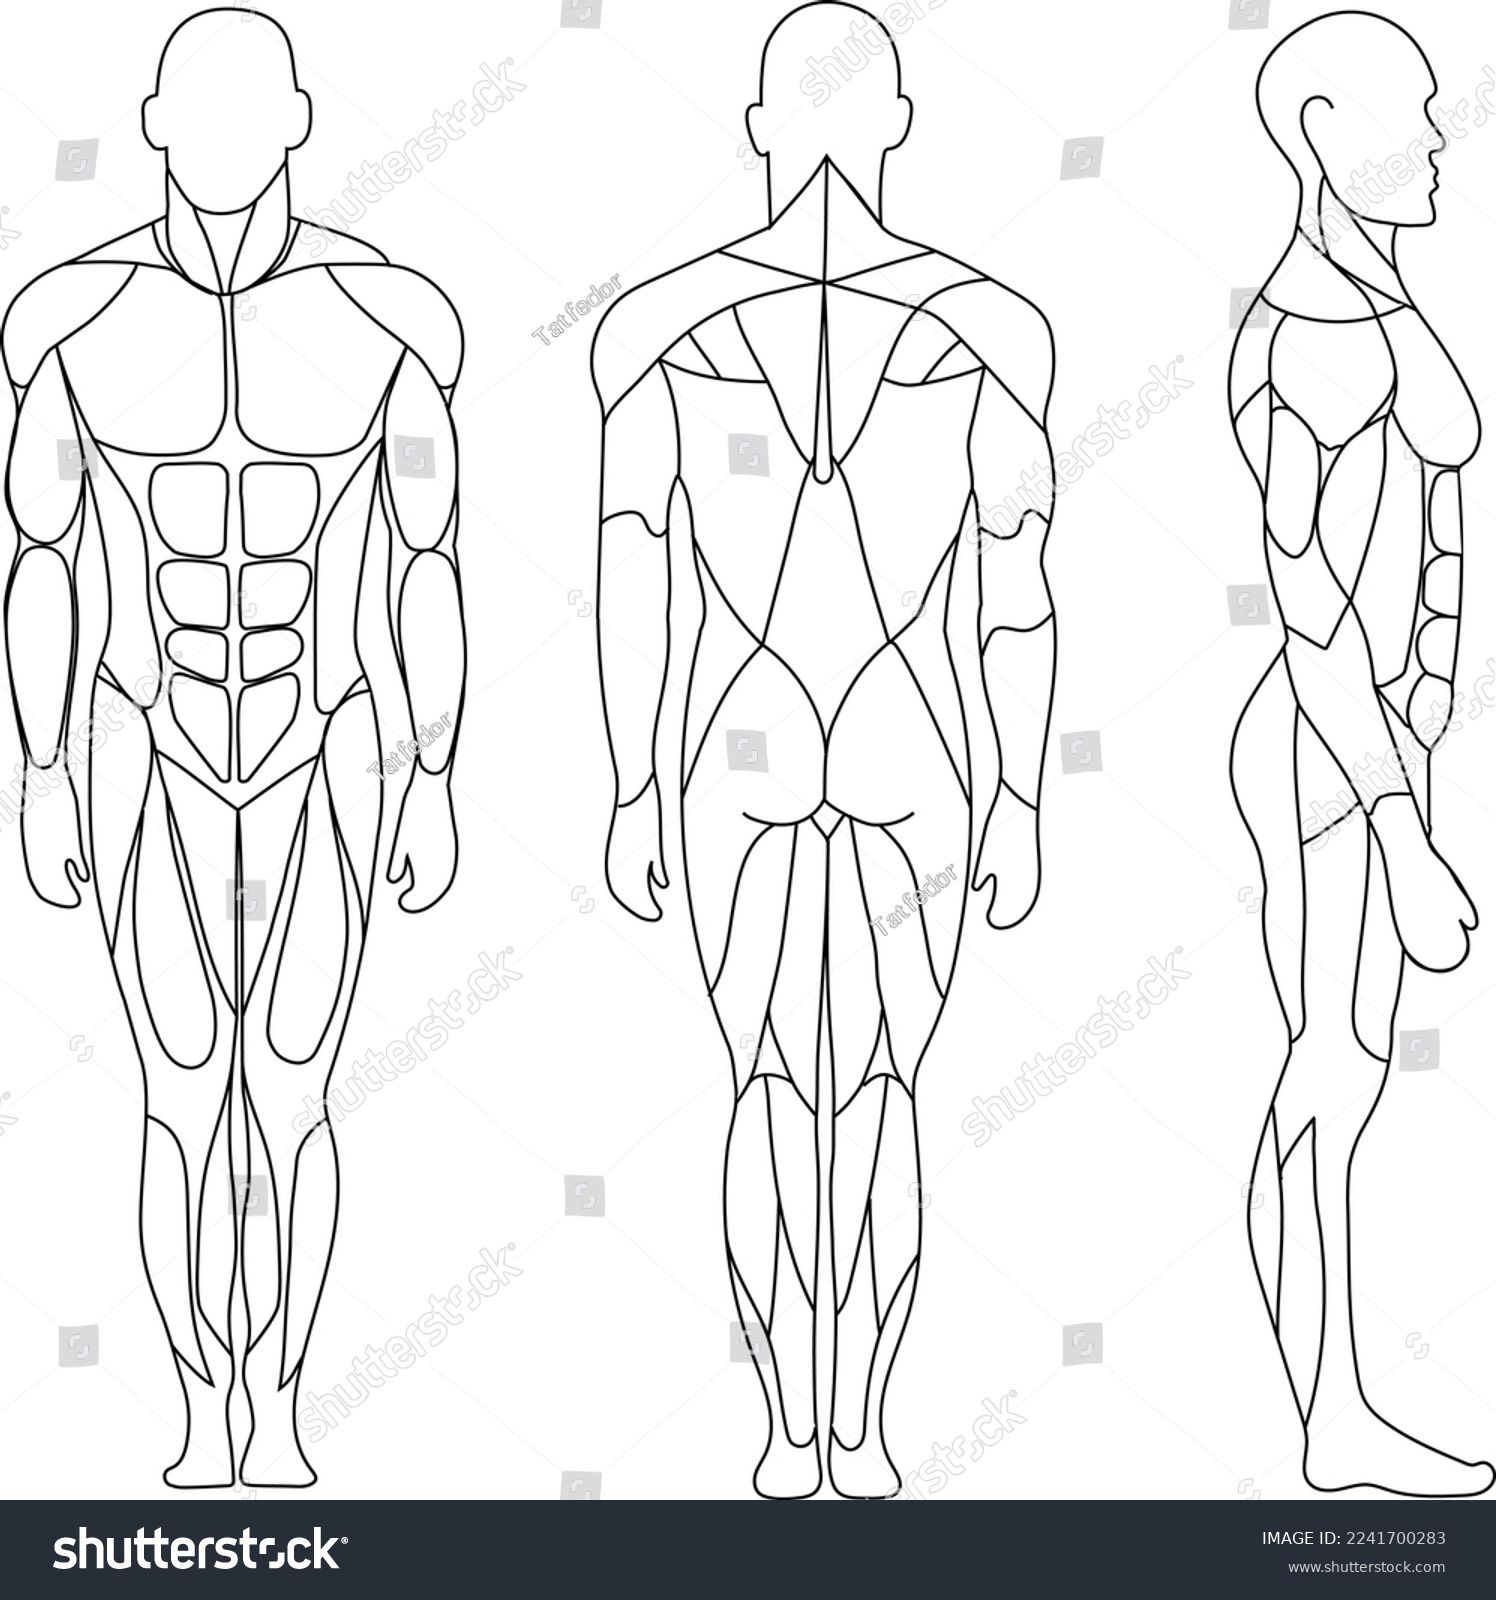
As an artist with a passion for anatomical accuracy, I’ve spent countless hours refining my approach to drawing the muscular system. One of my earliest challenges was capturing the deltoid muscle’s complex shape during a figure drawing session. I realized that understanding muscle function—not just form—was key. This led me to incorporate anatomical references like *Gray’s Anatomy* and digital tools like Procreate’s layering system for better precision. Drawing the muscular system isn’t just about memorizing shapes; it’s about visualizing how muscles interact under the skin, especially during movement.
Why Muscle Anatomy Matters for Artists
Muscles aren’t static structures—they stretch, contract, and shift based on pose and action. For instance, the biceps brachii doesn’t just bulge when flexed; its insertion point near the radius bone changes its surface appearance. I’ve found that artists who overlook this often end up with flat, unrealistic figures. In my experience, spending 15–20 minutes daily studying muscle groups in different poses (using apps like Anatomy 360) dramatically improves accuracy. It’s not about hyper-detailing every fiber, but knowing where to add volume or tension to convey movement.
Tools and Techniques I Swear By
Over the years, I’ve tested various tools to streamline my workflow. Here’s what works best:
- Procreate’s QuickShape Tool: Perfect for blocking in muscle shapes before refining details.
- 3D Anatomy Apps: Tools like Complete Anatomy let me rotate models to study muscles from any angle—invaluable for dynamic poses.
- Traditional Sketching: Starting with light pencil sketches helps me map out muscle flow before committing to ink or digital lines.
Honestly, combining traditional and digital methods yields the best results. For example, I’ll sketch the quadriceps group on paper, then use Procreate’s symmetry tool to mirror the other leg, saving time without sacrificing accuracy.
Common Mistakes to Avoid
Even experienced artists fall into traps when drawing muscles. One I see often is overemphasizing the rectus abdominis (six-pack) without considering underlying obliques or intercostal muscles. Another is ignoring how fat and skin affect muscle visibility—a mistake I made early on, leading to figures that looked more like anatomy diagrams than real people. A pro tip: Reference real-life photos alongside anatomical charts to understand how muscles appear under varying body types and lighting conditions.
Comparison of Reference Tools
| Tool | Best For | Drawback |
|---|---|---|
| Gray’s Anatomy | Detailed muscle origins/insertions | Static, lacks movement examples |
| Anatomy 360 | Dynamic poses, 360° views | Subscription-based |
| Procreate | Digital rendering, layering | Requires stylus for precision |
💡 Note: When drawing muscles in motion, focus on the agonist and antagonist relationship—for example, the biceps (agonist) and triceps (antagonist) during arm flexion.
Drawing the muscular system is as much about observation as it is about technique. I’ve learned that patience and consistent practice are non-negotiable. Start with simple gestures, gradually adding muscle layers as you build confidence. Remember, the goal isn’t perfection but progress. Even now, I revisit foundational studies to refine my understanding. The human body is endlessly fascinating, and every sketch brings me closer to capturing its complexity.
Related Terms:
- image muscular system
- picture muscular system
- nervous system
- muscular system worksheet for kids
- skeletal system
- muscular system quizlet


